
A practical start for Casualties: Unknown: controls, first crafts, health panel reading and a safe route through the five demo layers.
Casualties: Unknown Beginner Guide: Survive the First Five Layers
The first hour of Casualties: Unknown is not a tutorial. The game drops you in a life-pod with a light, a bag and a planet that is actively trying to open your skin. Most early deaths come from three things: walking into the dark without a light plan, carrying loot instead of water, and ignoring a wound until the blood meter is already in the red.
This guide covers the demo build, which contains the first five of the eleven planned layers. It gives you the controls, the first three crafts, a route through layer 1 and the numbers on the health panel that tell you when to turn around. If you want the full layer sequence after that, read the walkthrough; if a specific wound is killing you, jump to bleeding.
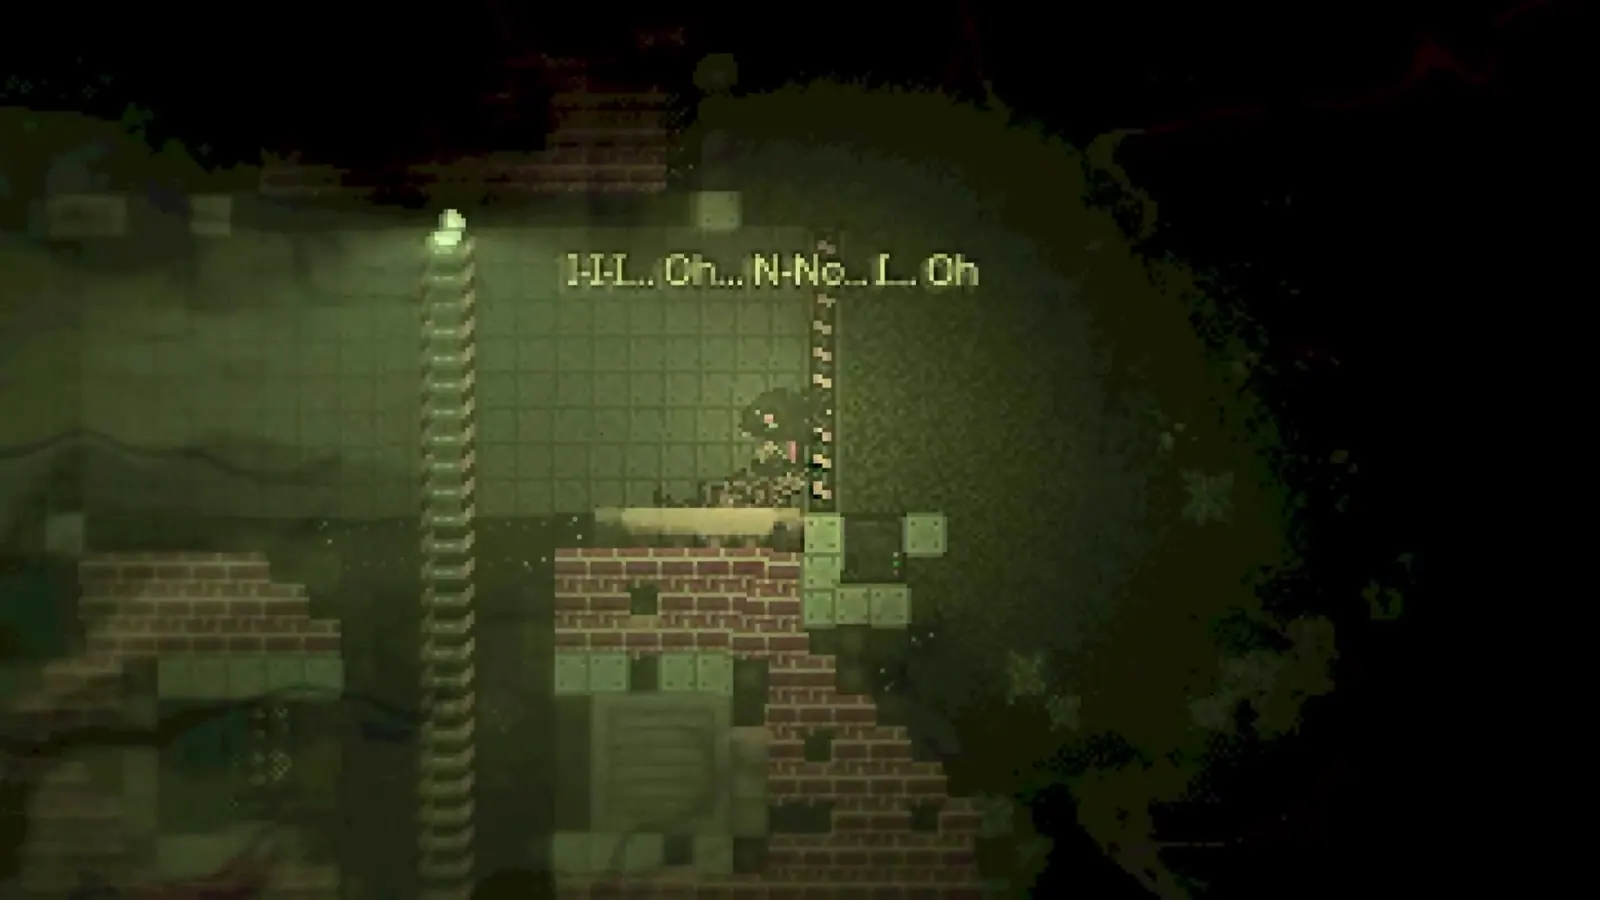
What the demo actually asks you to do
Your captors want cargo. The practical loop is simpler: descend, find salvage, bring it back to the life-pod, and spend what you learned on better tools. Each layer is 300 metres tall, one tile is 0.3 metres, and gravity is 16.5 m/s² — roughly 1.7 times Earth. That gravity matters. A fall that looks survivable on screen breaks legs, and a broken leg turns a routine climb into a twenty-minute crawl.
The demo has five layers: Gravel Lands, Deeper Gravel Lands, Dried Desert, Wasteland and Overgrown Depths. Passing the bottom of Overgrown Depths loops you back to Deeper Gravel Lands, so the demo is effectively endless once you can survive the jungle. The full release adds six more layers and two more playable characters.
Demo progress is separate from the release build, but the mechanics are the same. Learning the health panel and the first three crafts now saves several deaths on 9 November.
Controls you need before the first descent
The keyboard layout is dense and the game does not pause to teach it. Learn these before you move:
| Action | Key | Why it matters |
|---|---|---|
| Grab / climb | W | Vines, ropes and ladders are the only safe way down a shaft |
| Move | A / D | Sprinting is not a separate key; speed comes from weight and legs |
| Crouch / climb down | S | Lowers your hitbox and lets you drop ledges without a fall |
| Jump | Space | Costs stamina and lands badly if your legs are hurt |
| Ragdoll | X | The fastest way through a two-tile gap, and the fastest way to break a rib |
| Swing | Left mouse | Mining, combat and opening containers use the same swing |
| Move item / cancel | Right mouse | Drag items between containers without the inventory screen |
| Throw | T | Rocks distract enemies; spears do real damage |
| Swap hand | Q | Keep a light in the off-hand and a tool in the main hand |
| Favourite | F | Prevents accidental selling or dropping |
| Health panel | R | The only place that shows blood volume and internal damage |
| Craft | C | Opens the five-tab recipe book |
| Inventory | Tab | Backpack, pockets and equipment slots |
Two more matter later: 1, 2 and 3 change time speed, and holding Shift shows item descriptions. Holding Ctrl shows labels on the ground, which is how you find a dropped knife in a dark cave.
The first ten minutes, in order
- Put the light in your off-hand. The starting emergency light is worth more than any weapon. A lit cave lets you see traps, ledges and enemy silhouettes before they see you.
- Collect foliage, not rocks. Glowplant and Geotree give the best fibre. Hydreed's Wrapvine works but is heavy, and weight is the stat that kills new players.
- Craft a Foliage bag. One rope plus two canvas. A rope costs two foliage; each canvas costs three. That is eight foliage for 7.5 units of storage and a 45% weight reduction.
- Craft a canteen. Two chunks of plastic, one rope and 10 mL of bio-chem fluid. Glowplant fruit is the easiest fluid source. Water is not optional: thirst drains faster than hunger and the thirst penalty hits stamina first.
- Pin both recipes. Pinning keeps them at the top of the crafting window so you are not scrolling while a Cave tick closes in.
- Do a shallow loop. Mine a few copper and coal nodes, kill nothing you do not have to, and return to the pod before your light dies. The first trip is a gear check, not a loot run.
The bag recipe is the single most important early craft because it changes how long you can stay out. A full backpack does not just hold more; the 45% weight reduction means the same load costs less stamina, and stamina is what lets you climb out of a shaft with a broken arm.
Official source: Casualties: Unknown on Steam ↗
Reading the health panel
Press R and you get a body map, four vital readouts and a list of active conditions. New players stare at the green numbers and assume they are fine. They are not.
- Blood volume runs from 0 to 7.5 litres, with 5.00 L as the healthy reference. Every 125 mL away from that reference moves immunity and mood by one point. At 3.5 L you are dizzy; at 2.5 L you are close to unconsciousness.
- Consciousness below 30% means you cannot act. Pain shock above 0.66 on the internal scale drops you to zero, which is why a bad fracture can end a run without a single enemy hit.
- Skin integrity below 80 starts an infection roll every 40 seconds. At 60 skin the chance is about 5.75% per check; at 20 it is about 17.25%. Dirty wounds and open bleeding raise it further.
- Bone state is per limb. A dislocated limb has half its muscle cap and zero strength until it is set. A broken leg is not a debuff you walk off.
The practical rule: if blood is falling and you cannot see the source, stop moving and treat. Bleeding is measured in litres per minute, and a major arterial wound can empty a useful amount of blood in under a minute. The full math is in the bleeding guide.
A safe route through layer 1
Gravel Lands is the tutorial layer whether it admits it or not. Average temperature is 15 °C, the caves are small and connected, and the main enemy is the Shade crawler. The layer teaches three habits:
- Follow the light holes. Background shafts mark routes that stay dry and usually connect two vertical sections. They also mark places where the ceiling is thin, so do not mine straight up.
- Test every ledge with a thrown rock. Geysers, jump pads and spike traps are placed on the obvious path. A thrown item sets off a geyser without costing a limb.
- Mark your exit. Drop a spare tool or a piece of ore at each junction. The map is not a full minimap; it is a layer outline. You will get turned around in the dark.
The layer's plants are also its medicine cabinet. Glowplant gives fibre and fruit; Geotree gives wood and sap; Stoneplant gives a painkiller base; Leadbush gives a slow poison used in coatings. None of them require a high Intelligence skill to harvest, only the right tool.
Carry out 20–30 units of copper, one or two coal, and any medical supplies you find. Do not carry every rock. The trip back up is where overloaded players fall.
What to take into layer 2
Deeper Gravel Lands removes the light holes and adds water. The danger curve changes from "a trap might catch you" to "you are wet, cold, blind and something is chewing your ankle". Before you descend, have:
| Slot | Item | Reason |
|---|---|---|
| Off-hand | Lantern or glowplant fruit | Layer 2 has no ambient light |
| Main hand | Metal pickaxe or titanium machete | Mining speed and a real swing |
| Back | Foliage bag or better | 7.5 units is the minimum for a medical kit |
| Canteen | Water is available but not always clean | |
| Medical | Bandage and antiseptic | Two infections end more runs than enemies |
If you have not crafted a bandage yet, do it before the descent. Cloth comes from canvas or clothing; antiseptic comes from alcohol and a plant base. The crafting guide lists the exact recipe tree.
Five mistakes that end demo runs
- Mining with bare hands. Bare hands do 20 mining damage. A titanium pickaxe does 140 and swings in 0.48 seconds. The time difference is not cosmetic; it is exposure.
- Fighting in water. Water slows movement, ruins gunpowder weapons and hides the bleed indicator. Fight on dry ground or run.
- Ignoring temperature. Layer 3 averages 26.6 °C and layer 4 swings from -20 °C to 38 °C. Heat and cold change stamina drain before they show as a condition.
- Treating pain with painkillers only. Painkillers hide the symptom. If the cause is a fracture or internal bleeding, the meter will come back and you will be further from the pod.
- Descending on low blood. A 4.0 L blood volume is survivable until the first hit. Turn around at 4.2 L unless the next layer has a known medical cache.
FAQ
How long is the demo? Five layers, roughly two to four hours for a first playthrough. Experienced players finish the layer 5 loop in about ninety minutes.
Does the demo save? Yes. The game saves at layer transitions and when you use a life-pod. The prompt at the bottom of a layer is a save point, not a level end.
Can I play the demo after launch? The demo is a separate free app and is expected to remain available. It does not unlock the full game.
Is there a difficulty setting? Yes — six presets and a long list of custom run settings. The difficulty guide explains which ones change survival and which only change pacing.
Sources and further reading
Related guides
More Casualties: Unknown Guides
Container capacity, weight reduction and single-item limits in Casualties: Unknown, with the best backpack, belt and pouch for each stage of a run.
A practical best build for Casualties: Unknown: trait order, gear slots, medical kit, opening route and the combat loop that survives layer 5.
Hunger, thirst, sickness and radiation values for every food and drink in Casualties: Unknown, plus the best items to carry into each layer.
The best mods for Casualties: Unknown, what each one changes, and how to choose mods that will survive the jump from demo to full release.
Every weapon in the Casualties: Unknown demo ranked: damage, swing speed, durability, ammo and which weapon fits which layer.
The three playable characters in Casualties: Unknown, what Experiment can do in the demo, and what is actually confirmed about Milky and Dune.
All six Casualties: Unknown presets plus the 41 custom run settings, with defaults, ranges and the options that actually change survival.
Casualties: Unknown endings explained: the confirmed story goal, the unreleased final layers, what the demo does at layer 5, and what is still speculation.