
A practical best build for Casualties: Unknown: trait order, gear slots, medical kit, opening route and the combat loop that survives layer 5.
Casualties: Unknown Best Build for a First Run
There is no single best build in Casualties: Unknown, because the cave attacks different things on different layers. There is, however, a best first build: a generalist loadout that survives the demo's five layers without requiring rare loot or a lucky trader.
The short version: INT 12–14, RES 12+, STR 10–12, a titanium machete, a real backpack, four armour pieces, and a medical kit built around stopping bleeding rather than healing damage.
Official source: Casualties: Unknown on Steam ↗
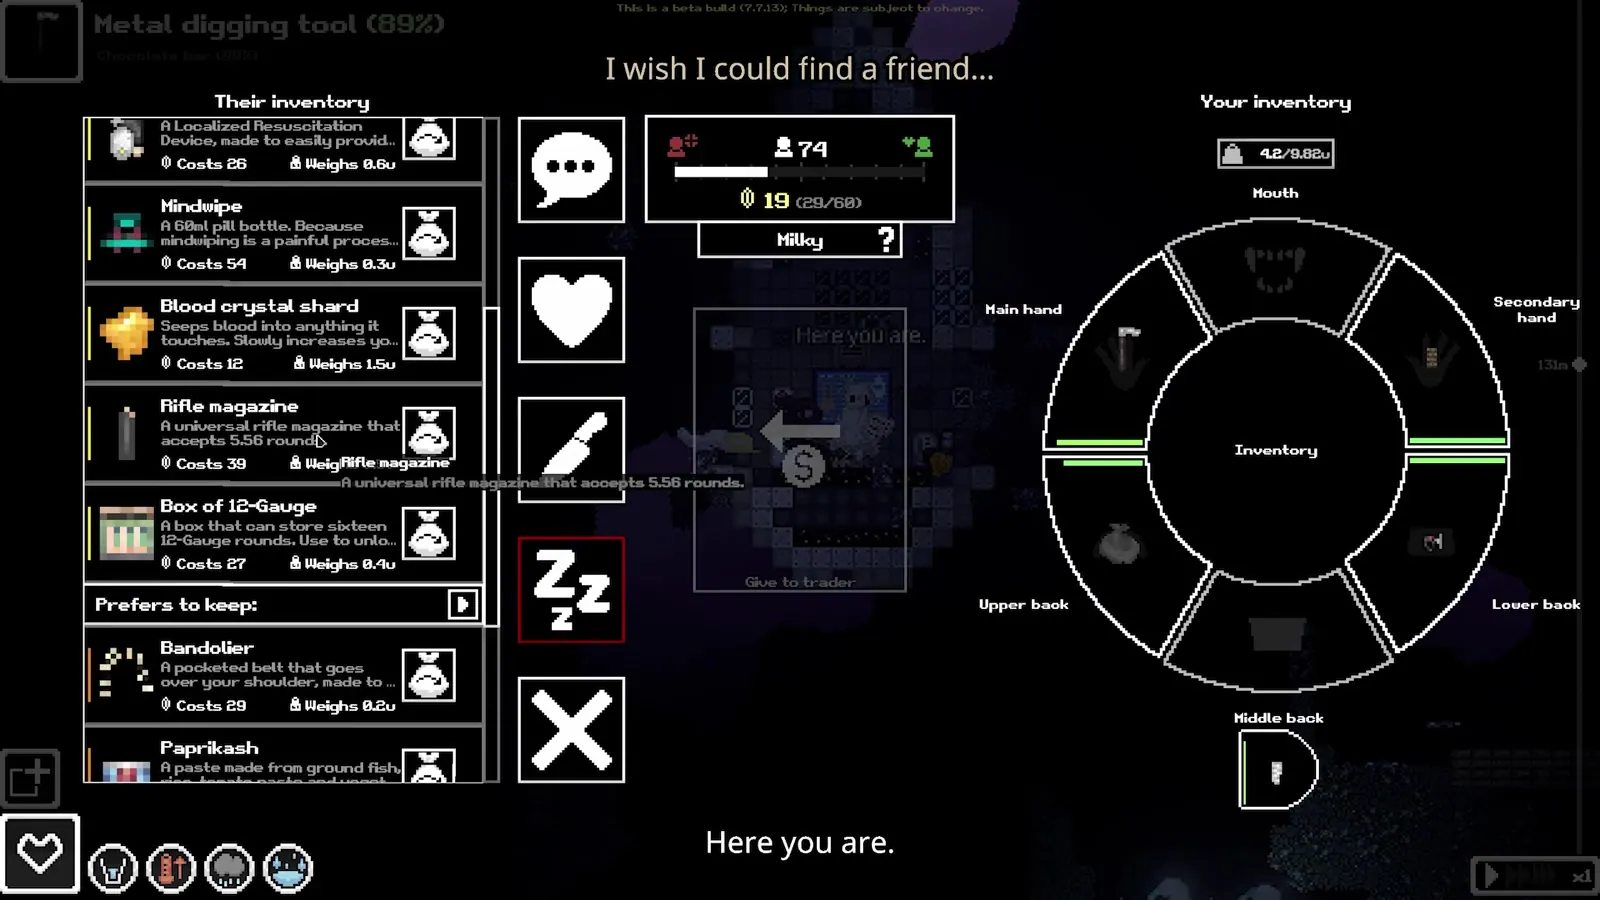
Trait priority
| Priority | Trait | Target | Why |
|---|---|---|---|
| 1 | Intelligence | 12–14 | Recipes, item identification, trader prices |
| 2 | Resilience | 12+ | Pain tolerance, stamina, carry weight |
| 3 | Strength | 10–12 | Damage, throw velocity, carry weight |
Intelligence first is not a preference. The medical recipes that stop a run-ending bleed sit behind INT requirements, and a character who cannot craft a splint is one bad fall from a dead run.
Resilience second because pain is the resource that kills you slowly. At RES 20, pain tolerance is 25% higher than baseline; the difference between fighting through a Thornback hit and collapsing is often that 25%.
Strength last because its damage bonus is small per level (+3.34%) and carry weight is better solved with a backpack. Take STR to 12 if you plan to throw weapons or haul ore; otherwise leave it at 10.
Gear by slot
| Slot | Target item | Budget alternative | Why |
|---|---|---|---|
| Main hand | Titanium machete | Machete | 80 enemy damage, fast swing, 3000 durability |
| Off hand | Lantern | Glowplant fruit | Light without burning a hand slot |
| Back | Backpack | Foliage bag | 7.5 u capacity, 45% weight reduction |
| Head | Riot helmet | Bicycle helmet | 67% head protection, no durability loss |
| Chest | Carapace | Hoodie | 50% chest protection |
| Hands | Tactical gloves | — | 50% hand protection, 15% insulation |
| Legs | Kneepads | — | 50% shin protection |
| Feet | Tactical boots | — | 67% foot protection, 30% insulation |
The riot helmet is the single best armour piece in the demo because it protects the body part that ends runs. A head injury that reaches 0 consciousness is not a wound you can walk off.
Do not wear heavy armour for the insulation alone. A hoodie gives 60% insulation at 20% protection and almost no weight; that is a better layer-1 choice than a carapace you cannot carry.
The medical kit
Carry, at minimum:
- 2 bandages for surface cuts.
- 1 pack of gauze or a haemostatic agent for a real bleed.
- 1 splint for a fracture.
- 1 antiseptic for infection risk.
- 1 painkiller for the pain spike after a fight.
- 1 blood bag or IV bag if you can afford the weight.
The order matters. Stop the bleed first, then treat pain, then treat infection. A character who bandages a cut but leaves a 1.5 L/m bleed dies with a clean bandage on.
The bleeding guide explains the litre math; the medical guide covers infection and fractures.
Opening 30 minutes
- Craft a Foliage bag (1 rope + 2 canvas). This is the first capacity upgrade and it costs only plant fibre.
- Craft a canteen (2 plastic chunks + 1 rope + 10 mL bio-chem fluid). Water is a layer-3 problem; solve it in layer 1.
- Craft a pickaxe if you did not find one. Mining speed is the difference between a 40-minute layer and a 70-minute layer.
- Take the emergency light in your off-hand and keep a Glowplant fruit as backup.
- Clear layer 1's first two caves, not the whole layer. Copper, coal and fibre are the goal.
- Return to the pod, craft bandages and a splint, then descend for real.
This routine is boring and it is the difference between a build and a death. The beginner guide has the exact recipe costs.
Combat loop
The build fights in a fixed sequence:
- See the enemy first. Light is a weapon. If you see it before it sees you, you choose the ground.
- Back into a wall or a corner. Cave ticks and crawlers cannot surround you if there is no "around".
- Hit the limb, not the centre mass. A crippled limb reduces damage and movement.
- Disengage at 60% blood, not 20%. A bleed you can walk away from is a bleed you can treat.
- Treat before looting. The loot will still be there; the blood will not.
Against Thornbacks, the loop changes: bait the charge, sidestep, hit the flank. Against the Elder Thornback, fight in a vertical space and keep a throwable for the dismember window.
Why not a rifle build?
Rifles are strong — 120 enemy damage, 30-round magazines — but they are a mid-game build, not a first build:
- Ammo weight. 5.56 rounds are heavy and not craftable at the start.
- Noise. Gunshots pull enemies from adjacent caves.
- Repair. Guns need cleaning and parts; a machete needs a whetstone.
- Trader price. A gun in hand lowers trader reputation by 20.
Take a rifle when you have a stash, ammo and a backup melee weapon. Do not make it your first weapon. The best weapons page ranks the alternatives.
Layer-by-layer adjustments
| Layer | Change |
|---|---|
| 1 Gravel Lands | Hoodie, machete, foliage bag, canteen |
| 2 Deeper Gravel | Add splint, second light source, boots |
| 3 Dried Desert | Add two water containers, heat insulation, splint |
| 4 Wasteland | Add radiation medicine, sound-cannon awareness, insulated layer |
| 5 Overgrown Depths | Full armour, rifle or titanium machete, blood bag, boss plan |
The build does not change its identity; it adds the counter to each layer's element.
Settings that support the build
On the main menu:
- Loot density 1× is the baseline. Raising it to 2× makes the build come online faster but trivializes the early game.
- Danger 1× is the intended difficulty. Lower it only if you are learning the medical system.
- Layer modifier 40% is the default. Set it to 0% for your first descent, then raise it.
- Starting supplies on Normal is an emergency light. Relaxed gives a full kit and is a fine tutorial setting.
The difficulty guide explains every preset and the 41 custom settings.
What to upgrade first
- Backpack → Trauma rig if you find one. 70% weight reduction changes what you can carry.
- Machete → Titanium machete. The durability alone is worth it.
- Bicycle helmet → Riot helmet. Head protection is the best defensive stat.
- Foliage bag → Belt or Leg pouch for a second container before you find a backpack.
- Lantern → better light only if you have fuel. Light upgrades are quality-of-life, not power.
Do not upgrade armour before you upgrade the bag. Capacity is the stat that lets you bring the medicine that keeps the build alive.
Common build mistakes
- Skipping INT. The build cannot craft its own medicine and depends on trader luck.
- Wearing a full armour set at 60% encumbrance. You move slowly, tire quickly and cannot outrun a charge.
- Carrying ore instead of medicine. Ore is replaceable; a blood bag is not.
- Fighting the Elder Thornback without a plan. It removes limbs; a build without a splint and a blood bag is a death sentence.
- Ignoring insulation. Layer 4 swings from -20 °C to 38 °C. A single hoodie is not enough.
A build that needs a rifle and a trauma rig is not a starter build. Plan around the first trader, not the best loot table.
FAQ
What is the best character for this build? Experiment, because the movement kit and regeneration support a generalist playstyle.
Is a rifle better than a machete? For damage, yes. For a first run, no. Ammo, noise and trader penalties make it a mid-game weapon.
How much INT do I need? 12–14 covers the medical recipes and most early crafting. Higher INT is a trader and identification build.
Should I wear the heaviest armour? No. Protection matters, but encumbrance and insulation decide whether you reach the fight.
Does the build work on Desolate? Yes, but you start with nothing. Craft the bag and canteen before you fight anything.
Sources and further reading
Related guides
More Casualties: Unknown Guides
Casualties: Unknown item tier list for the demo: the best tools, weapons, armour, containers and medical items, ranked by how much they change a run.
A practical start for Casualties: Unknown: controls, first crafts, health panel reading and a safe route through the five demo layers.
How blood volume, bleeding rate, tourniquets and transfusions work in Casualties: Unknown, and the order to treat a bleeding limb.
The three playable characters in Casualties: Unknown, what Experiment can do in the demo, and what is actually confirmed about Milky and Dune.
How crafting works in Casualties: Unknown: the five tabs, Intelligence requirements, failure tiers, blueprints and the recipes worth making first.
What the free Casualties: Unknown demo includes, how long it takes, where it ends, what carries over and how to install it on Steam.
All six Casualties: Unknown presets plus the 41 custom run settings, with defaults, ranges and the options that actually change survival.
Casualties: Unknown endings explained: the confirmed story goal, the unreleased final layers, what the demo does at layer 5, and what is still speculation.